Installing interlocking stone for your driveway, walkway or patio project is a great way to build a long lasting addition to your home. Not only will it last long, be easy to repair and look great, but it will also add a great deal of value to your home. Before any of this happens you will need to gather the necessary tools if you’re going to complete the project. Here are all the tools you will need:
- Shovels for all the excavating you’ll need to do to prepare the site and get it level.
- A stone saw to cut stone in areas where it needs to fit up against a border.
- A plate packer to get the ground firm and level.
- Wheelbarrows are not a necessity, but they will make hauling sand and dirt around a lot easier.
- Safety goggles are an absolute must when using any power tool.
- Safety boots are another must have when you’re moving around heavy stacks of interlocking stone. One drop could be the end of your project until you heal.
- Gravel for a base material.
- The coarse sand you buy will be the final base material on the gravel.
- A 2 inch by 6 inch board can be used for a number of simple leveling and tamping tasks.
- You will need stakes to mark off the area to be excavated and covered in interlocking stone.
- String will be used to connect those stakes up.
- A bubble level will be your greatest asset in ensuring the stones are installed nice and level.
- Polymeric finishing sand is that last touch that acts as a ‘glue’ to hold the stones in place.
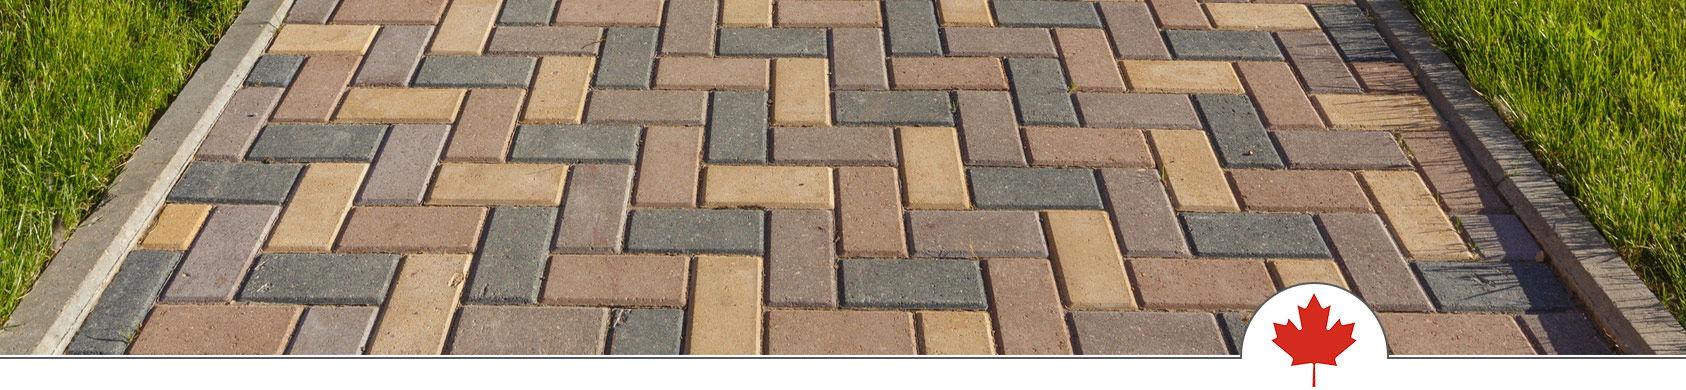
- Let us not forget the interlocking stones themselves. The wide variety of colours, shapes and patterns available will make choosing your interlocking stone hardest part of the decision making process.