 Welcome to Lane’s Landscaping Supplies “From the Pros” series!
Just as the name implies, the “From the Pros” series will feature professional tips and tricks to keep your landscaping and yard work looking its best all year long.
Why launch “From the Pros?”
In addition to being your trusted GTA landscape supplier, we’re also homeowners too. We’re always on the lookout for smart ways to save money and improve our own personal outdoor living spaces.
And when we find some great professional tips, we want to share them with you.
We certainly hope you enjoy reading – and learning – from the pros at Lane’s Landscaping Supplies.
And please, feel free to share your pro tips with us too.
First up in the “From the Pros” series: summer patio stone care.
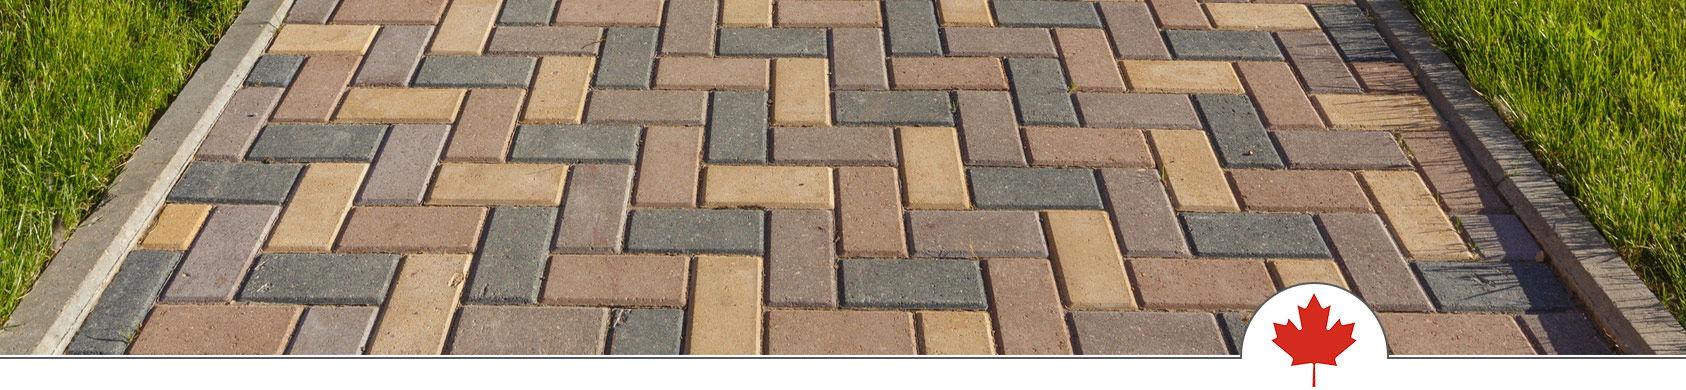
Keep those interlocking patio stones looking great
Last year (or even this summer), did you finish building your dream patio?
Good for you!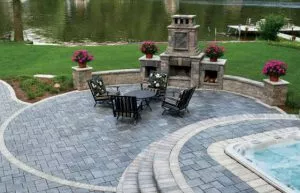
And now, are your interlocking patio stones covered in dirt, with moss and grass growing in between them?
That’s not good at all. Especially if you’re looking to get in some last minute summer entertaining before back-to-school starts.
For many people, when their patio stones get dirty, they pull out the power washer to remove any dirt and debris; only to have to do it all over again a few weeks later.
But, by taking some extra time and effort, you’ll be able to clean your stone patio – and make sure it stays that way – like a pro.
What you’ll need
Chances are, you already have many of the tools you need to give your patio stones a professional-grade cleaning right at home:
- Flathead screwdriver
- Polymeric sand
- Plastic cup
- Broom
- Leaf blower
- Spray bottle
- White vinegar
- Rubber mallet
Polymeric sand is your patio’s best friend
This is why it’s crucial to always have polymeric sand on hand:
- It keeps weeds from growing between the interlocking stones
- It stops bugs from nesting between the stones – and ultimately making their way into the house
Before you apply the polymeric sand, you first need to get rid of the existing weeds or grass that’s between the patio stones.
That’s where the flathead screwdriver comes in. You’ll be able to dig deeper between the stones and pull out the weeds from the root (and scrape off anything that’s growing on top of the stones, too).
Once the stones are cleaned, it’s time to apply the polymeric sand:
- Pour the sand into the joints
- Sweep sand into the joints with a broom
- Tap the stones with a rubber mallet to settle the sand
- Remove excess sand with a leaf blower
- Mist the stones and sand with a spray bottle 3-4 times in an hour
- Wait 24 hours to use the patio
What about the vinegar and dishwashing soap?
Sometimes weeds do occasionally pop-up, despite your best efforts to keep them at bay.
You could reach for a bottle of weed-killer, but that’s not real environmentally friendly.
Nor is it kid-friendly, either.
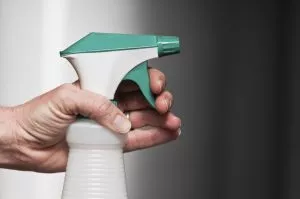
Mixing white vinegar and dishwashing soap is a smart way to remove unwanted weeds like a pro – without spending big bucks on chemical weed killers.
Here’s how to properly do it:
- Fill a spray bottle with white vinegar
- Add a teaspoon of dish soap to it
- Take aim and fire at those pesky weeds
In order to use your homemade herbicide effectively, make sure you spray when the weeds are dry and the sun is out. Don’t spray on a cool, cloudy or wet day.
We’re the pros the pros call
When professional contractors need advice or high-quality products, they call us.
And when homeowners need tips or products, they call us too.
That’s because we’ve got the professional know-how to help you do it right. And we also have the homeowner mindset of doing it yourself and saving money too.
If you have any questions – or if you want a FREE quote on any of our products, all you need to do is contact us.
One of our experts will get in touch with you to talk about all your landscaping needs.
