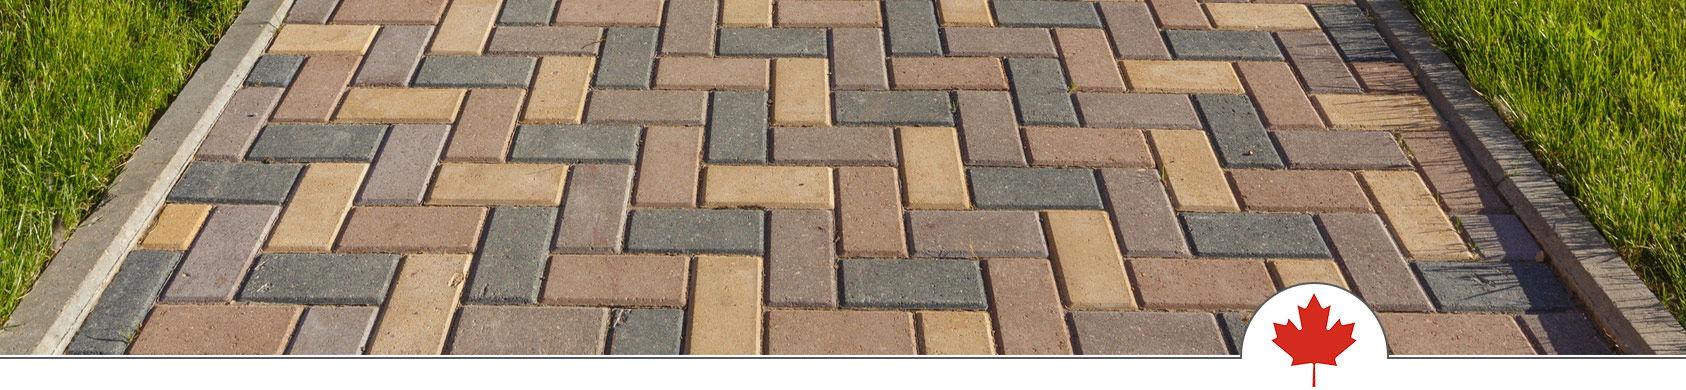
Throughout the year, your interlocking pavers from Lane’s Landscaping Supplies have been subjected to things like:
- Bleaching from the sun
- Oil stains (if you have interlock on your driveway)
- Mud
- Rain or excessive water
- Leftover driveway and sidewalk salt residue
So chances are they aren’t looking quite as sharp as when you first laid them down.
It’s inevitable that interlock or pavers will be exposed to wear and tear.
Fortunately as a homeowner, you can bring their original lustre and beauty back by cleaning and sealing them just like the pros.
The stuff you need
Before you start, you’ll need to collect the following supplies and products:
- Garden hose or high-pressure washer
- Household detergent
- Water and bucket
- Scrubbing brush
- Large broom
- Techniseal cleaners and pavers
- Sand or other aggregates
- Application brush or roller
 Step 1: Wash your pavers
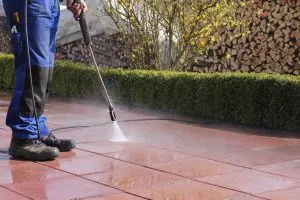 Step 1: Wash your pavers
Grab your garden hose or high-pressure washer and give your interlocking patio stones a thorough cleaning (just make sure to take away any patio furniture first).
Then, mix the household detergent and water inside a bucket.
When the mixture is super sudsy, pour it on top of your pavers and let it sit there for around 20 minutes.
Finally, scrub the solution deep into your pavers using the scrubbing brush or broom. When you’re finished, use the hose to rinse off any leftover residue.
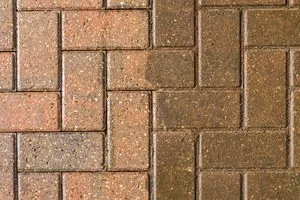
Step 2: Look and clean
After you rinsed away your soapy solution, perform a deep inspection and look for any stubborn stains which still remain.
Some common stains which are tough to get rid of include:
- Oil
- Dirt
- Grease
- Rust
- Paint
- Tar
- Rubber
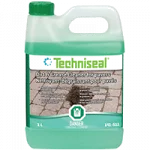
If you have any of these on your pavers, there’s a Techniseal cleaning product that’ll get rid of it.
Step 3: Replace the sand between the joints
Next, look at the joints between each paver stone.
If you have sand or other aggregate material there, it should come up to about half the height of the paver itself.
This step is important because the sand helps keep your pavers in place (otherwise they could get wrecked by the upcoming freeze/thaw cycles).
Top up any joints by first pouring sand onto the pavers. Then, using your broom, sweep the sand into any joints until the appropriate level is reached.
Don’t overfill the joints, though. Sweep away any leftover or unused sand or aggregate product.
Step 4: Apply the sealing product
Once the pavers are clean, it’s time to seal them.
First, you need to select the sealing product which will best create the look and feel you want, such as:
- Natural look
- Boosted colour
- Clear appearance
- Wet look
- Semi-gloss
There’s a wide range of Techniseal sealing products designed to give you the exact finish you want.
 Use your application brush or paint roller to spread the sealer on your paving stones. Make sure to spread and excess sealing product evenly.
Let the sealer dry according to the recommended time on the label. When it’s completely dry, add a second layer.
Save money by doing it yourself
 Save money by doing it yourself
You could hire a cleaning and sealing contractor to prepare your driveway for winter.
But the interlock cost can vary wildly. Some companies may charge a few hundred dollars while others can easily cost $1000 or more.
However, for significantly less, you can clean and seal your interlock just like the pros and enjoy the same result.
Ready to start? We’re ready to help
Winter will be here before you know it. And by then, it’ll be too late to clean and seal your interlock.
So your best bet is to get it done right now. It should only take you a weekend (if that) to finish the job.
To start, you can:
- CONTACT US with any questions you have
- GET A FREE QUOTE on any of our products
- VIEW OUR TECHNISEAL SELECTION of cleaners, pavers and joint sand
